
Powerspots and Actions
As well as being used as normal hotspots, Powerspots can be used to create a variety of interactions and effects. This is made possible by Actions. To work with Actions, select a hotspot or area and switch to the Actions tab in the Element Editor.
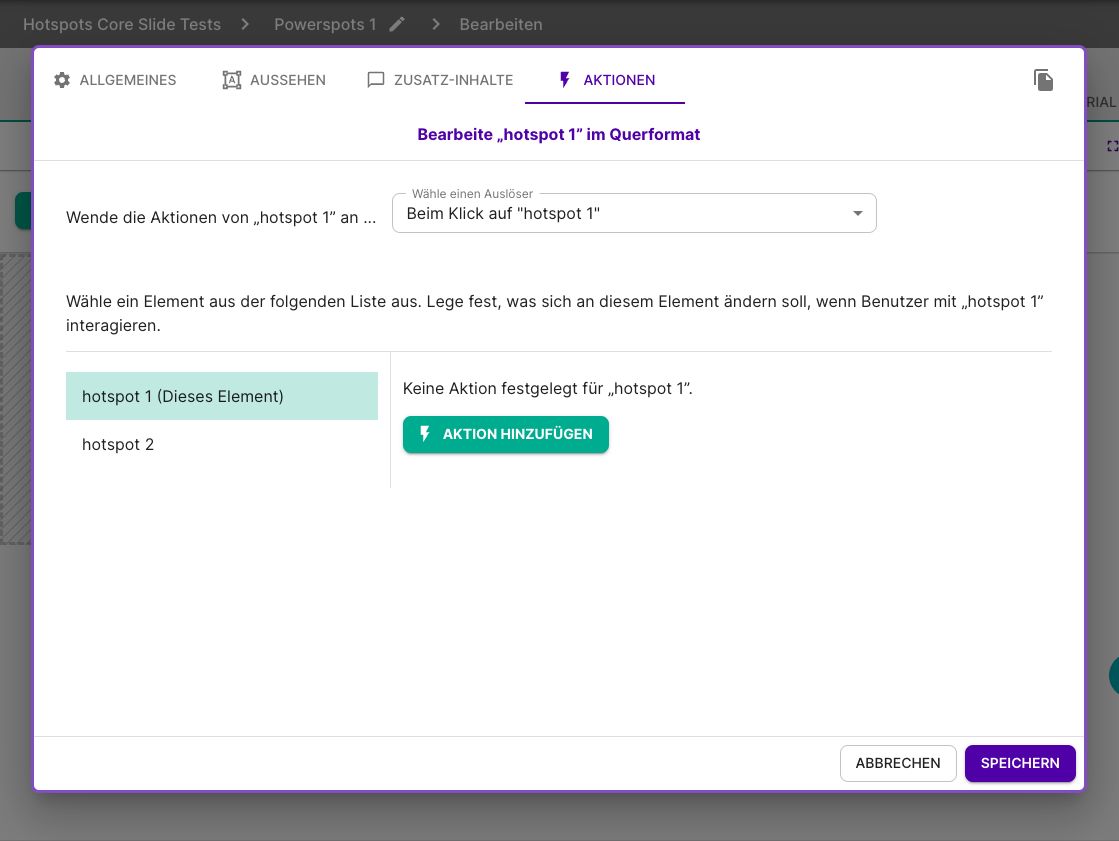
First select a trigger. By default, this is a click on the element you are currently editing. Depending on whether your element contains additional content or audio (for hotspots), the alternative triggers are 'When the overlay/popover closes' or 'When the audio file ends'.
What is an action?
An action is the set of changes to an element that are activated by the trigger. In principle, anything that is available to you in the 'Appearance' tab can be changed in an action. You can assign an action to any number of elements using the same trigger (e.g. click on 'Hotspot 1').
An example: By clicking on hotspot 1, we want hotspot 1 to appear lighter and hotspot 2 to be active.
To do this, we first check in the 'Appearance' tab of hotspot 1 that the opacity is set to 1 (= highest opacity) and in the 'Appearance' tab of hotspot 2 that 'Element is deactivated' is set to active. Now we can create the actions for clicking on hotspot 1.
In the 'Actions' tab of hotspot 1 we select 'Hotspot 1 (this item)' and click on 'Add action'. Now we can set the opacity in the action editor to 0.5 - this will make Hotspot 1 appear paler.
Next we select 'Hotspot 2' from the 'Actions' tab of Hotspot 1 and click 'Add Action' again. We then deselect the 'Element is disabled' option in the action editor. Finally, close the element editor by clicking on 'Save'.
Once we have saved our Powerspot slide, we can open the Preview and test our actions.
What else can you do with Actions?
- Move elements to a specific position
- Change the size and aspect ratio of elements
- Change the background image of areas
- Show and hide elements
- Activate and deactivate items
- Move items to the foreground or background
- Change the order in the grid for grid-aligned elements
- Change the opacity of elements
Exemplary use cases
- Reveal learning paths
- Revealing the correct order of elements
- Changing a 'screen content' (= area with background image) by pressing 'buttons' (= hotspots)